 Owncast now supports custom plugins.
 Plugin quickstart
The quickest way to build a plugin is with the JavaScript or Python SDK. Pick a tab below and follow it through installation. To use Rust, TinyGo, AssemblyScript, Zig, or another compiled language instead, see Native WebAssembly.
Prerequisites
- An Owncast server you can administer, version 0.3.0 or newer.
- JavaScript
- Python
- Node.js 18 or newer (
node --versionto check) for the@owncast/plugin-sdktoolchain.
- Python 3.8 or newer, and
uvorpipto install theowncast-plugin-pytoolchain.
1. Create a new plugin
A plugin's identifier is its slug: lowercase letters, digits, and hyphens, starting with a letter. It's used as the directory name, the output filename, and the URL prefix.
- JavaScript
- Python
Scaffold a project with create-owncast-plugin, passing the slug:
npx create-owncast-plugin@latest my-plugin
cd my-plugin
npm install
You now have:
my-plugin/
├── package.json
├── plugin.manifest.json     display name, slug, version, permissions
├── README.md                how to build, test, package, and install it
├── INSTRUCTIONS.md          optional, rendered as a tab in the admin
├── AGENTS.md                notes for AI coding agents
├── .agents/                 a bundled skill for AI coding agents
├── src/
│   └── plugin.js            your code, with a sample handler
└── __tests__/
    └── plugin.test.js       a sample scenario test
npm install also creates node_modules/. None of these are created for you, but you can add an icon.png (shown in the admin plugin list), a public/ directory (static files served at /plugins/my-plugin/), and an assets/ directory (files the host inlines for manifest fields).
Scaffold a project with new, passing the slug. uvx runs the scaffolder straight from PyPI without installing anything:
uvx owncast-plugin-py new my-plugin
cd my-plugin
uv tool install owncast-plugin-py      # or:  pip install owncast-plugin-py — for build/test/serve/package
You now have:
my-plugin/
├── plugin.manifest.json     display name, slug, version, permissions
├── README.md                how to build, test, package, and install it
├── INSTRUCTIONS.md          optional, rendered as a tab in the admin
├── AGENTS.md                notes for AI coding agents
├── .agents/                 a bundled skill for AI coding agents
├── src/
│   └── plugin.py            your code, with a sample handler
└── __tests__/
    └── plugin.test.json     a sample scenario test
The manifest has both a human-readable display name ("name": "My Plugin") and a slug ("slug": "my-plugin"). The display name is what admins see in lists. The slug is the canonical identifier. See the manifest reference for the rules.
2. Write some code
A handler reacts to an event. The SDK derives the manifest's subscription list from which handlers you define, so there's nothing else to keep in sync. Here's an echo bot:
- JavaScript
- Python
Open src/plugin.js:
const { definePlugin, owncast } = require('@owncast/plugin-sdk');

module.exports = definePlugin({
  onChatMessage(msg) {
    owncast.chat.send(`echo: ${msg.body}`);
  },
});
Create src/plugin.py:
from owncast_plugin import plugin, owncast

@plugin.on_chat_message
def echo(msg):
    owncast.chat.send(f"echo: {msg.body}")
See the handlers reference for everything you can hook into, and the APIs reference for every owncast.* method.
3. Build the plugin
This produces my-plugin.ocpkg in your project root: a single file containing your manifest, the compiled plugin, and the contents of public/ and assets/. The .ocpkg is the distribution format: that one file is everything an admin needs.
- JavaScript
- Python
npm run package
owncast-plugin-py package
4. Run the tests
Each scenario fires events through the real plugin runtime with mocked side effects, so a passing test means the same behavior in production. See the testing guide for the full data model.
- JavaScript
- Python
npm test
owncast-plugin-py test
5. (Optional) iterate against a local dev server
Serves the plugin at http://localhost:8080/plugins/my-plugin/ for curling endpoints, opening static pages in a browser, or triggering event handlers through the /_dev/ helper endpoints (for example POST /_dev/chat). Restart the dev server when you change your code.
- JavaScript
- Python
npm run serve
owncast-plugin-py serve
6. Install on your server
In the Owncast admin, open Plugins in the sidebar and click Upload plugin. Pick the my-plugin.ocpkg file your build produced. The plugin appears in the list immediately. Toggle Enabled to load it.
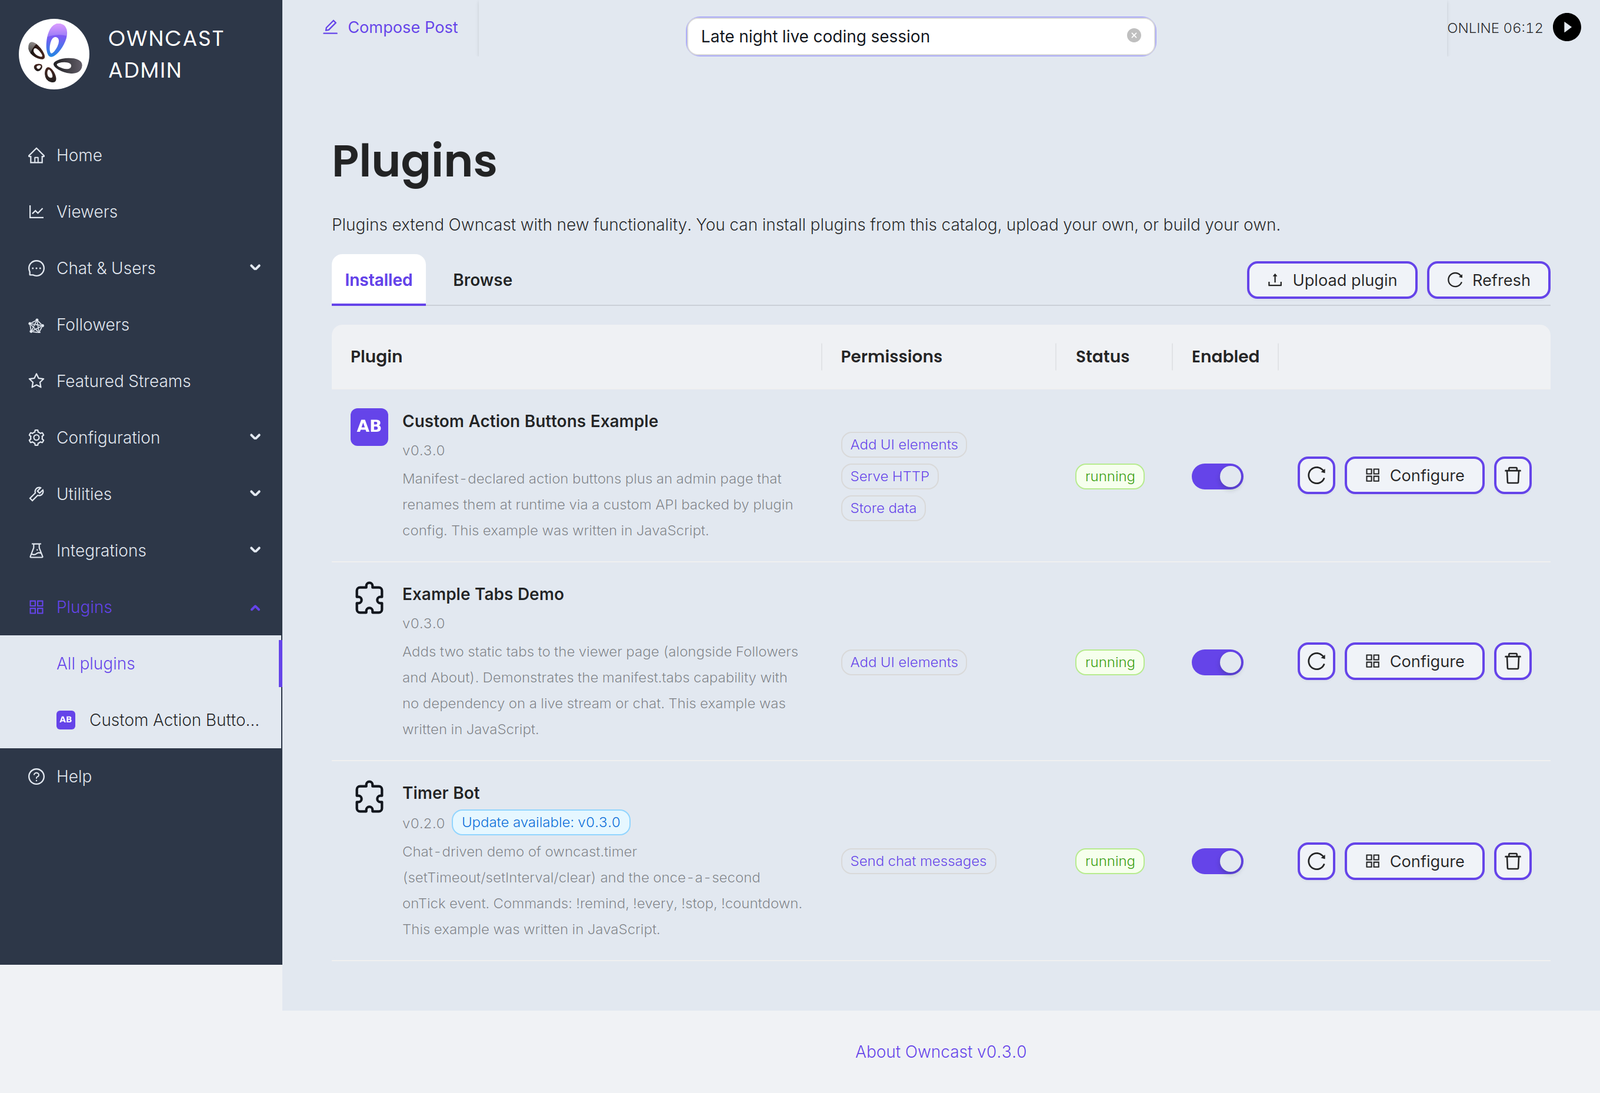
Alternatively, copy my-plugin.ocpkg to your server's data/plugins/ directory and the next scan tick will pick it up:
scp my-plugin.ocpkg user@your-owncast-server:/path/to/owncast/data/plugins/
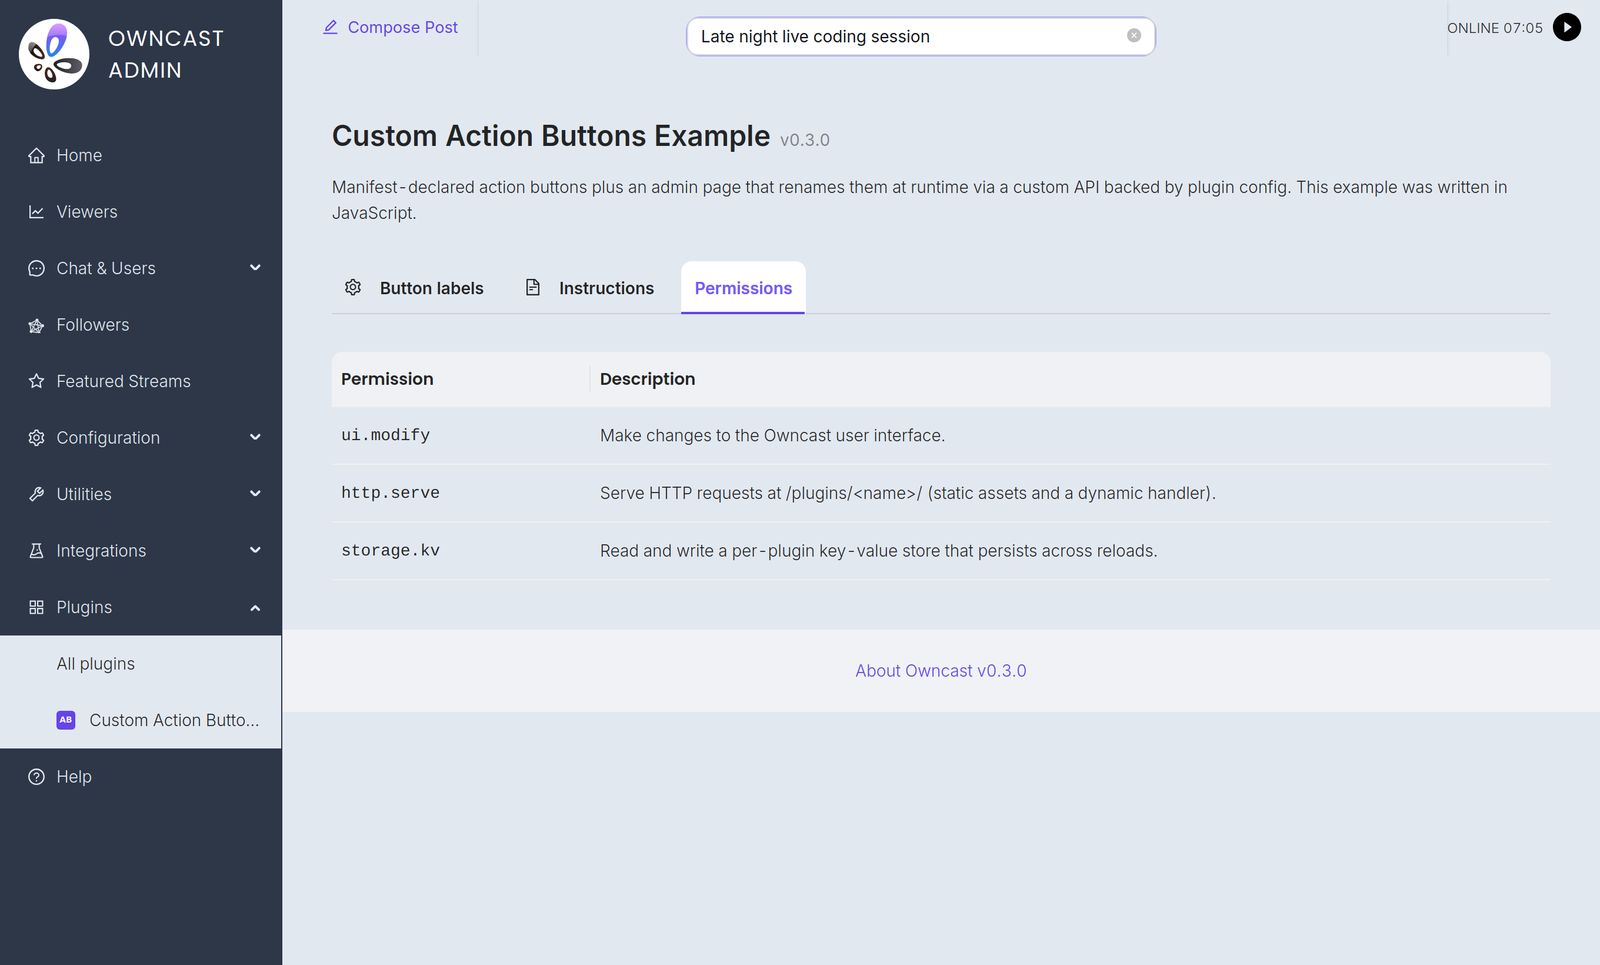
If the plugin declares permissions, the admin reviews them in the Permissions tab on the plugin's detail page before enabling. The first enable captures the approved permission set. If you later ship an update that asks for more access, the already-approved version keeps running with its existing permissions while the update waits as pending until the admin re-approves.
What to read next
- Choosing an SDK and its JavaScript / Python pages for the full language-specific reference.
- Manifest reference for the full schema for
plugin.manifest.json. - Handlers reference for every event you can subscribe to.
- Owncast APIs for every method you can call from plugin code.
When things go wrong
- The plugin doesn't appear in the admin list. Make sure the
.ocpkgis indata/plugins/, not justplugins/, and the filename ends in.ocpkg. The admin Plugins page has a Refresh button if you don't want to wait for the next scan tick. - The plugin appears but won't enable. Check the admin's plugin detail view. The Status column shows
errorif the manifest is invalid or the plugin failed to instantiate. Hover for the message, or run your tests locally to catch the same problem before shipping. - The plugin enables but does nothing. Make sure you're using the right handler name (
onChatMessage/on_chat_message, notonMessage) and that the matching permission is in your manifest. A call without its permission never reaches Owncast: the denial is logged on the server and the call returns an empty or zero value, so watch the Owncast logs. - The plugin is auto-disabled. A filter that throws or hangs five times in a row gets disabled for the rest of the session. Fix the bug, rebuild, redeploy, and re-enable.
Improve this page
See something missing or incorrect? Edit this page and improve the documentation for everyone.

Related Documents
- Python SDKAuthor Owncast plugins in Python with owncast-plugin-py: install, the @plugin decorators, the owncast-plugin-py CLI, and testing.
- Owncast Plugin APIsEvery owncast.* method your plugin can call from inside a handler, what it returns, and what permission it needs.
- Plugin PermissionsThe full permission list, what each one grants, and how Owncast's plugin security model works.
- Plugin Manifest referenceEvery field your plugin's manifest can contain, with examples.
- Plugin EventsEvery event your plugin can subscribe to (chat, stream, fediverse, filter, HTTP, and more), with its payload shape.
- Packaging & publishing pluginsBundle your plugin into a .ocpkg, install it on a server, and list it in the public plugin directory.